As promised kinshi,here's the first of my step-by-step build articles.
Scratchbuild No.1:- _FRA Pocket Battlestation_
Basic table
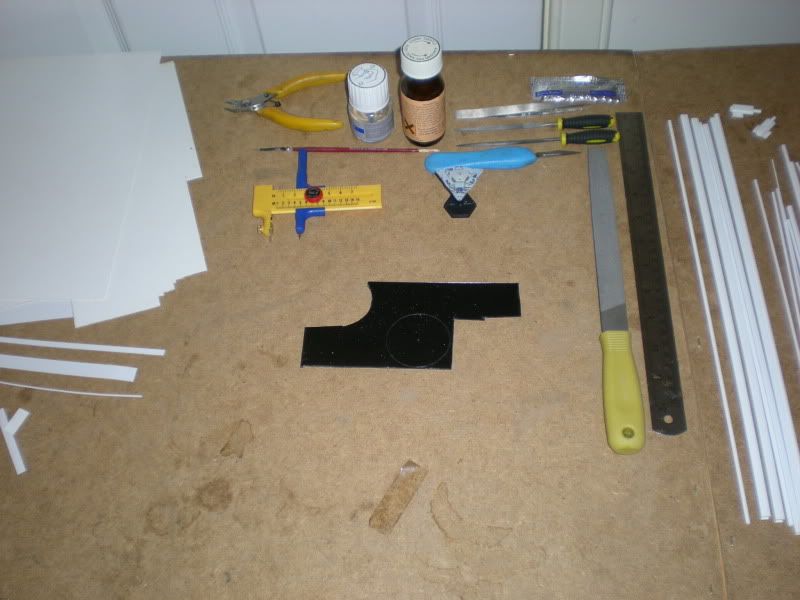
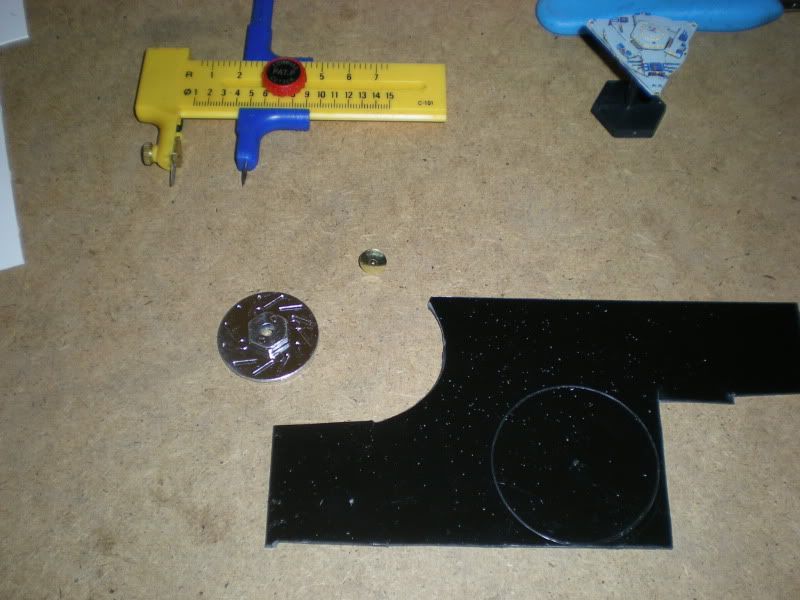
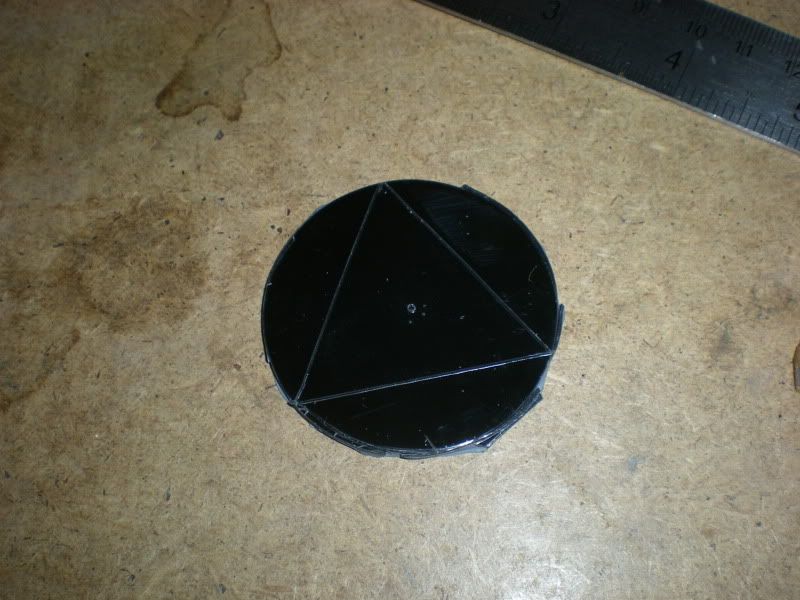
Using the compass cutter,set to a 1" radius,score out a circle on some 0.060" card. Make sure that you don't press down too hard,or all that you'll score is a spiral.It's better to make a multitude of light cuts,than make a heavy cut that ends up wandering off line. We will be using the score and snap method for much of this build,as it's quicker and easier than trying to cut all the way through.
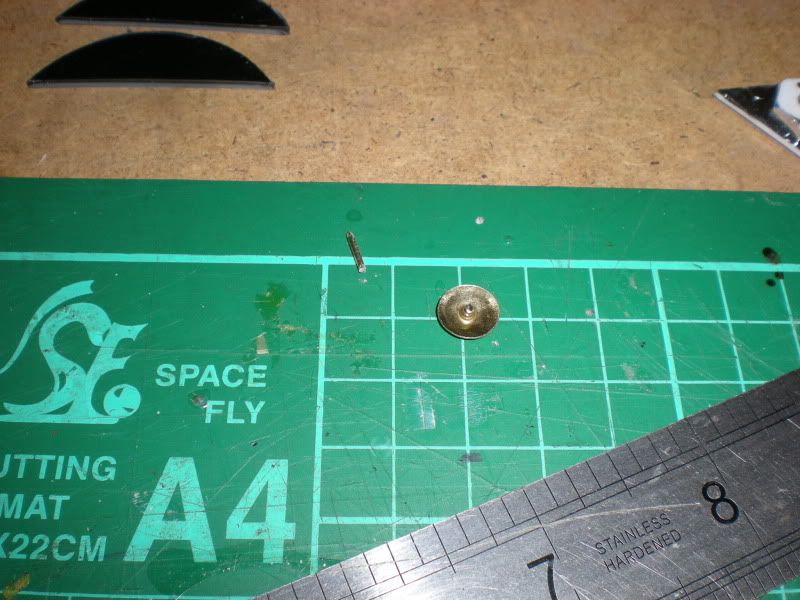
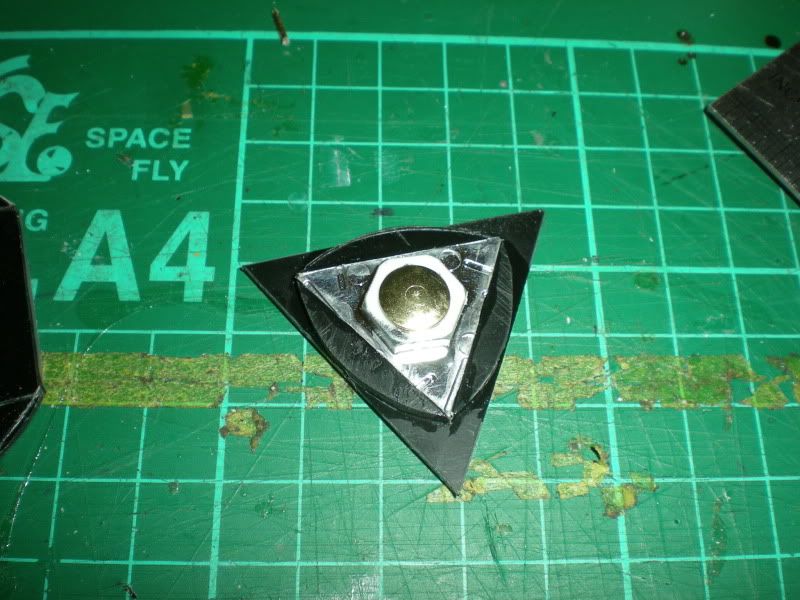
To the left of the pic,you can see both a thumb-tack and a silver disc with a hex,this comes from the R/C fraternity,the scale Drift crowd to be precise. This will be used for the central core of the station.
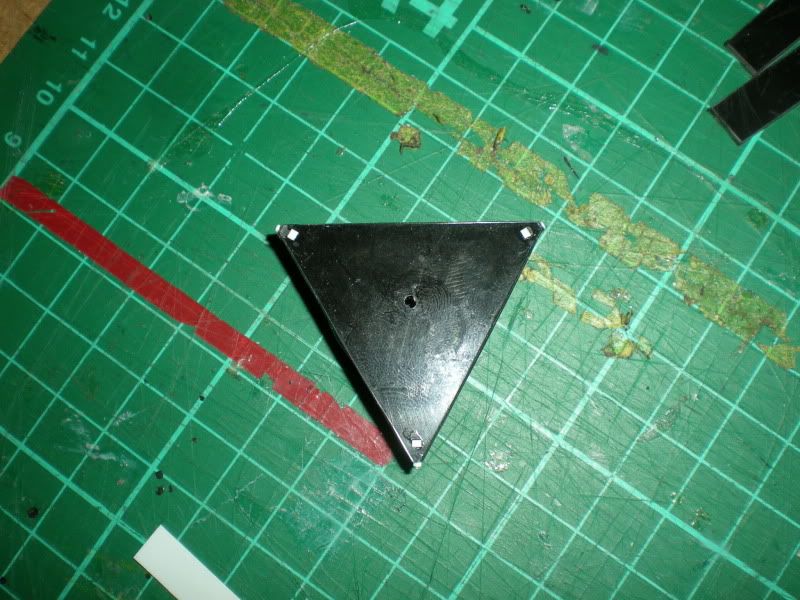
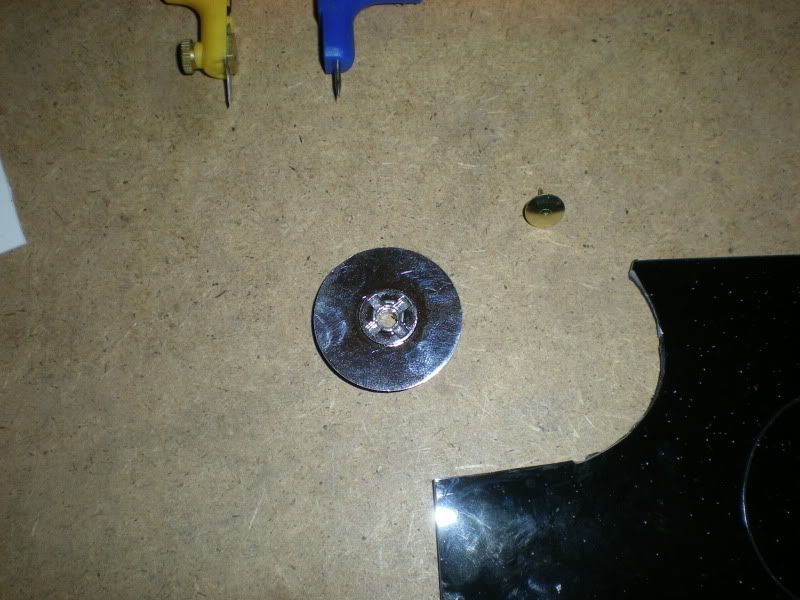
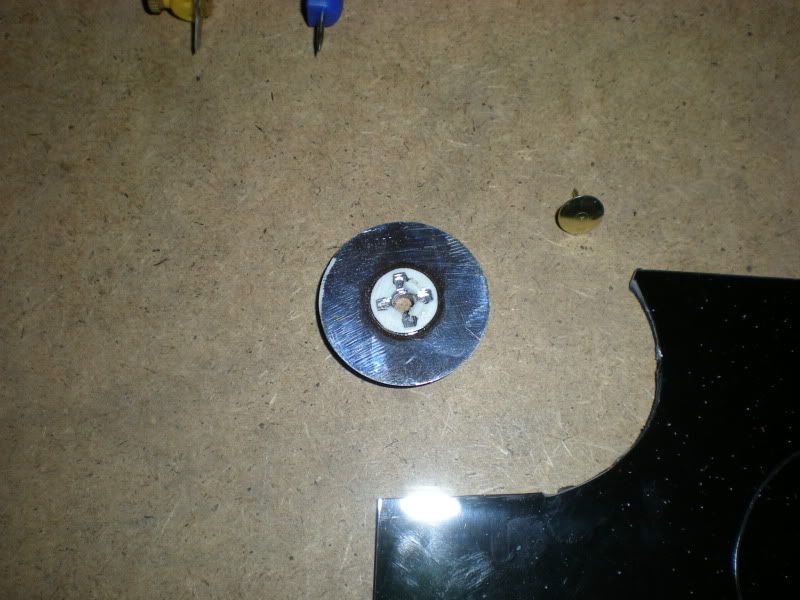
The raised cross boss will need to be filed flush with the rest of the disc.
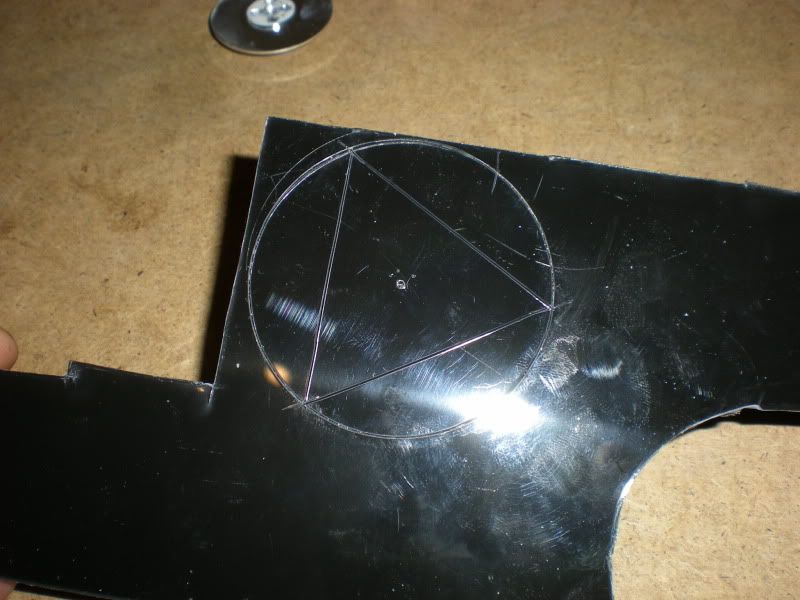
Having marked out the circle on the card,it's time to mark off the circumference,so that you can mark out an equilateral triangle.
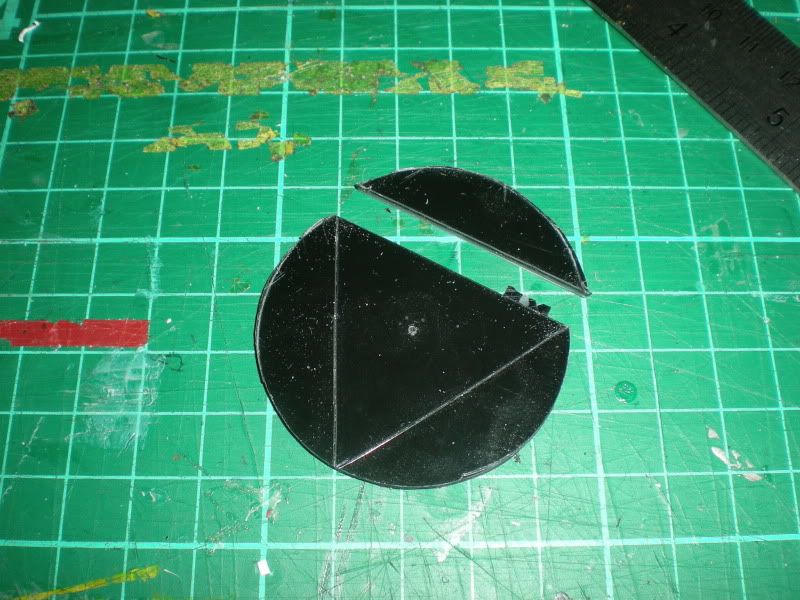
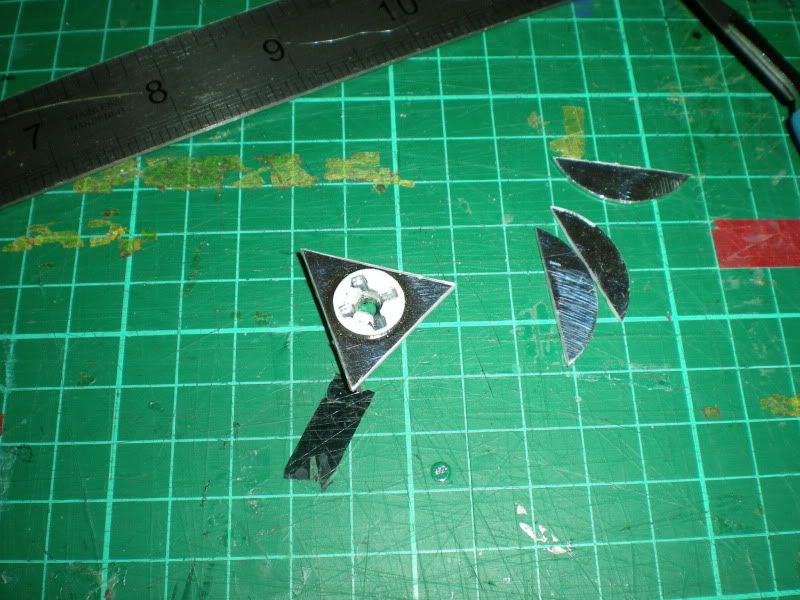
Using a pair of linesman's pliers,long nose to those in Europe,you can now carefully snap off the excess plastic from around the circle.
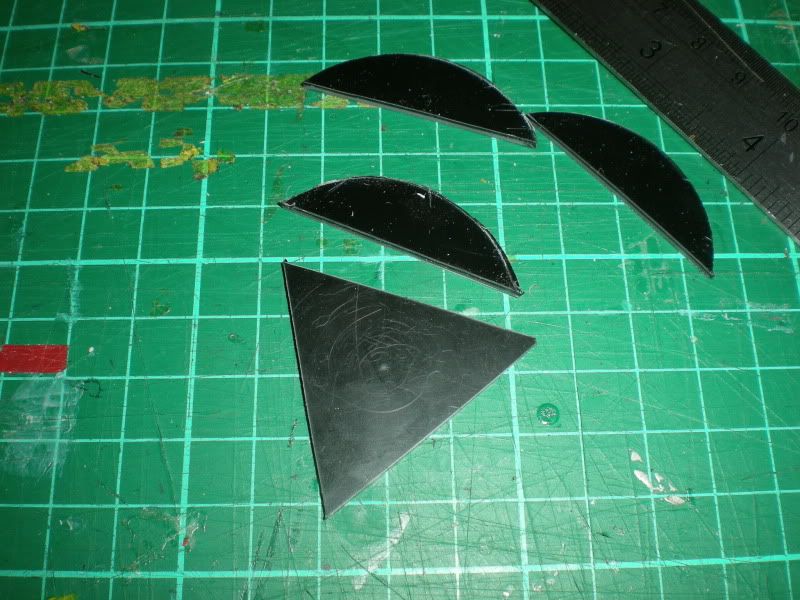
Next,snap off the arcs from around the triangle,but don't discard them,as you'll need them later.
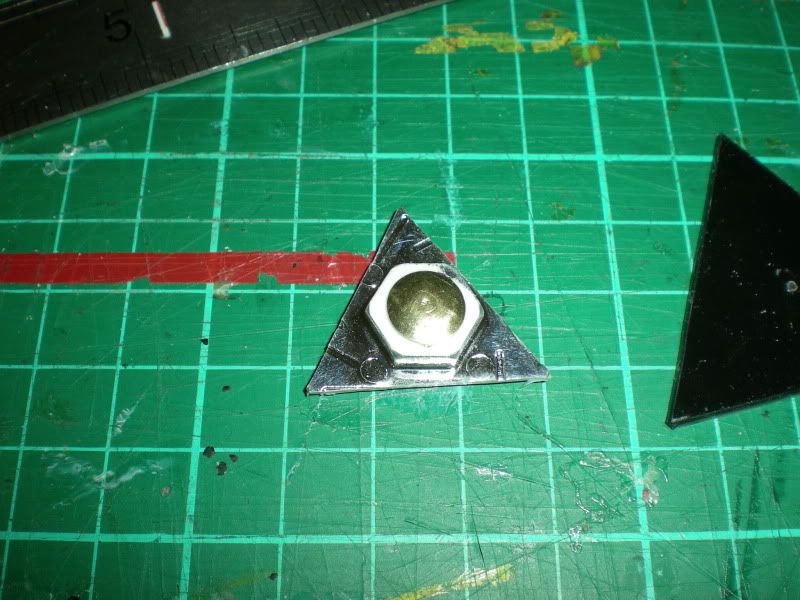
Now mark off a triangle on the back of the 'brake disc',5/8" radius.( Be careful of the alignment in relation to the hex on the other side. You ideally want the points of the triangle to line up with the points on a hexside.)
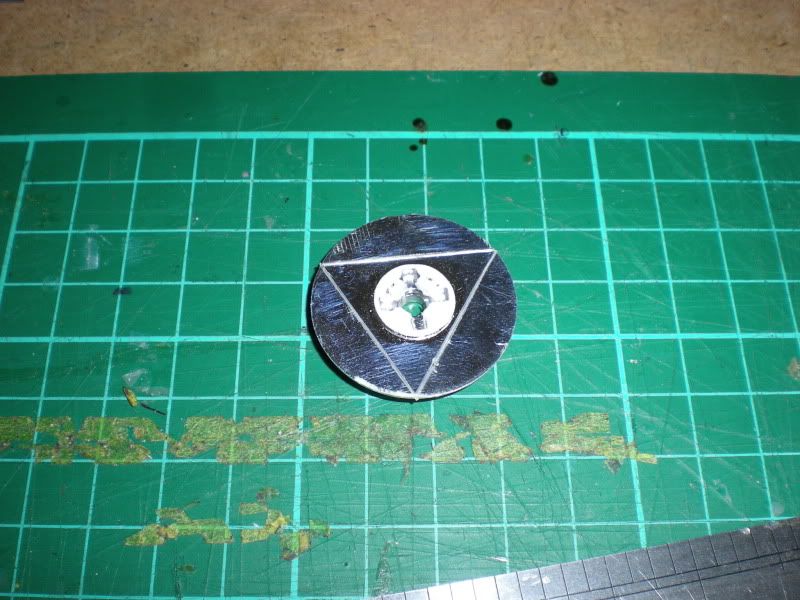
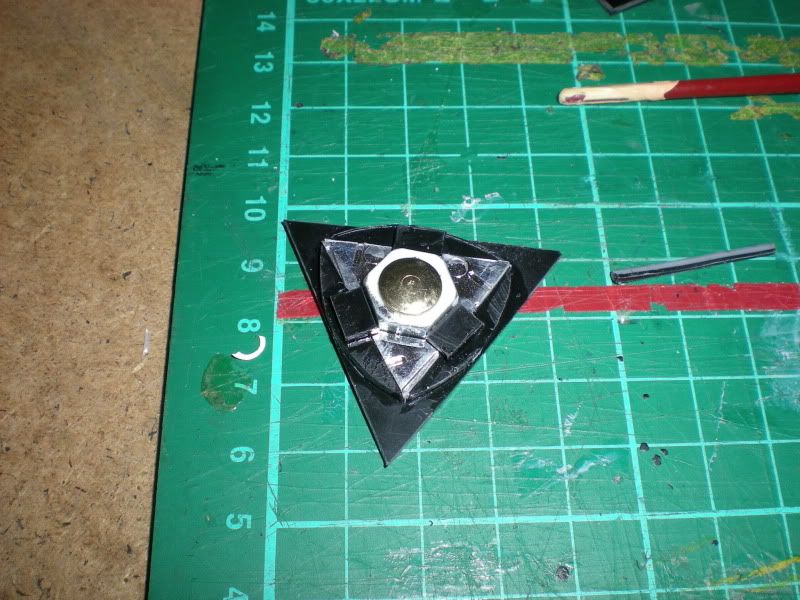
Now using a pair of side cutters,not modelling ones,snip the shaft off the thumbtack. Then using superglue(Cyanoacrylate),glue the dome to the top of the hex,and cement the assy into place on the larger card hex,lining the edges up as best you can.
Now,what I want you to do,is to take the arcs that you cut off the card triangle,mark them off against sides of the smaller triangle thus.
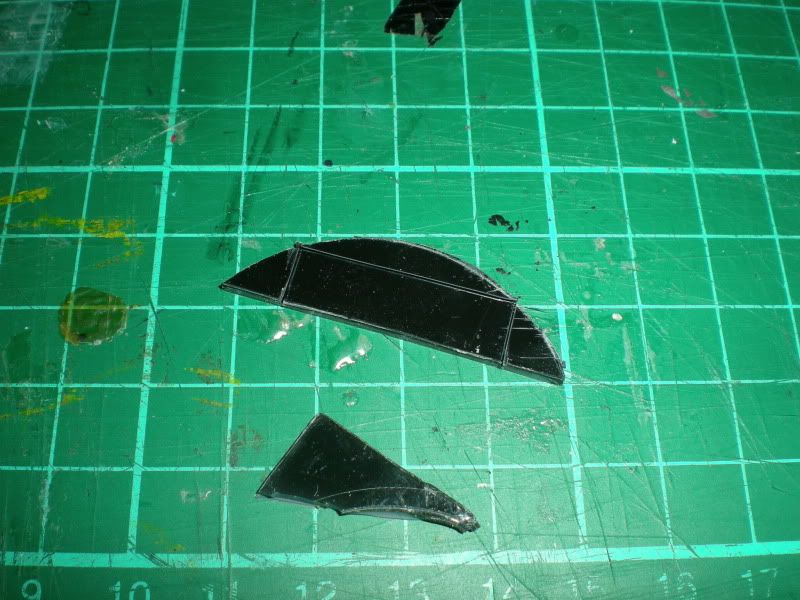
Then snap off the smaller arcs that you've created,and stick them onto the model as shown.
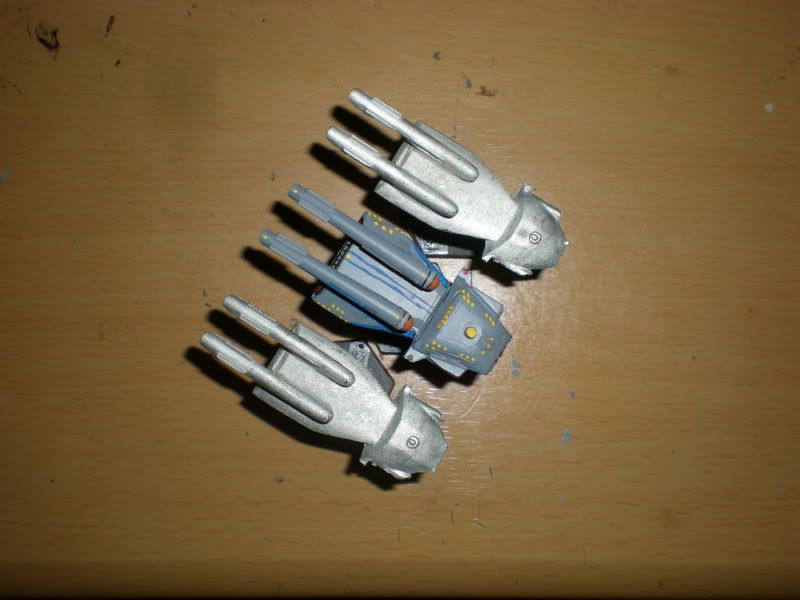
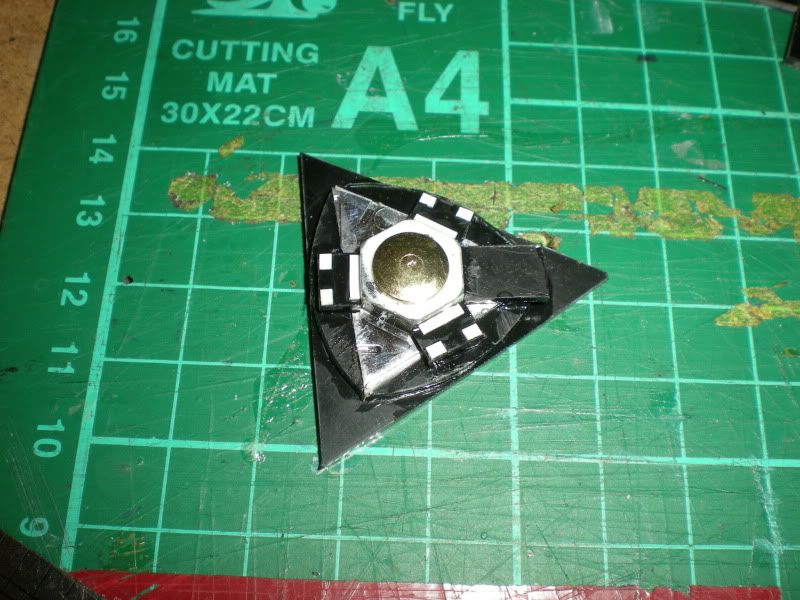
Now we turn to the generator sections,these are just scraps of card cut to match a hexside in width,and just shy of the outer edge of the station in length.
Now,pick any unused hexside,and add a longer piece of card,to represent the hanger module,then it's time to hit the 0.010-0.015" detail card. Cut out two small panels and one long panel/section,(shield grid generators and AWR cooling grids),and glue in place as shown.Then cut three narrow strips for use as the hangerbay doors and glue into place.
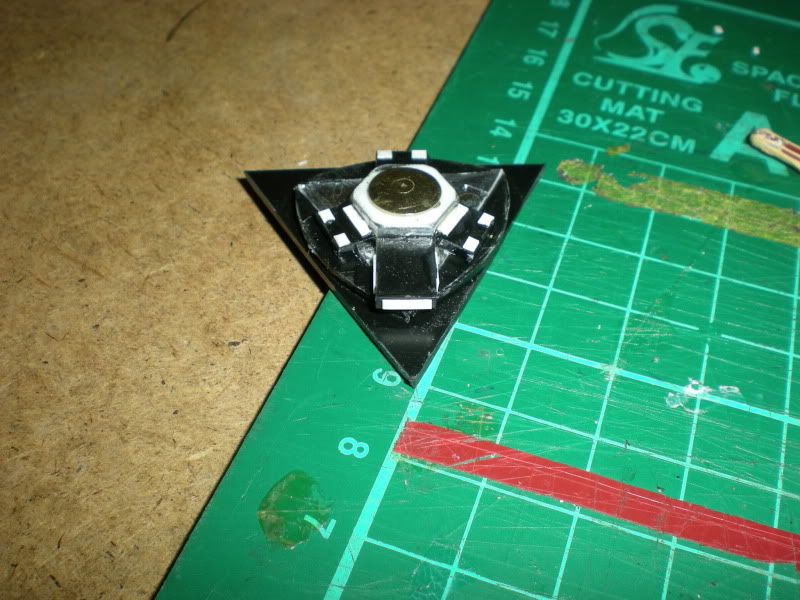
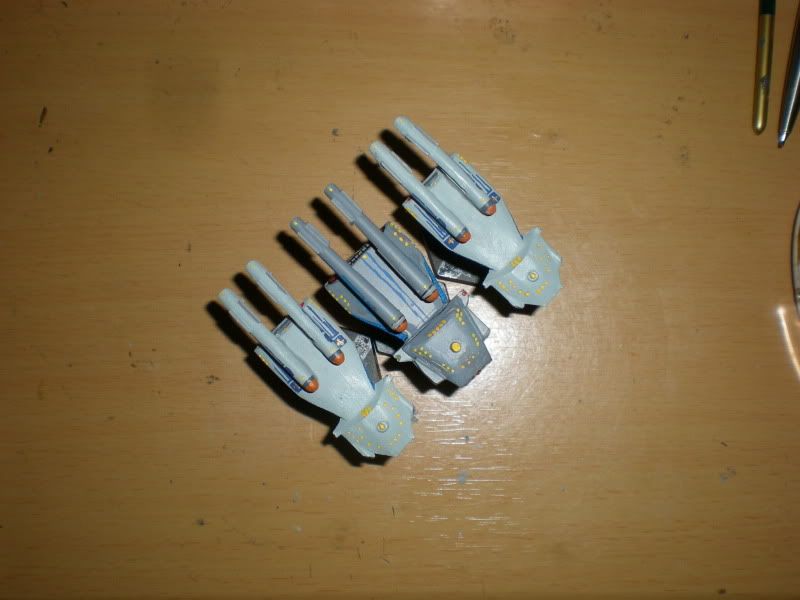
Now comes the fun part,which will have you all cursing me,slice off some really thin slices of 0.020" rod,or thinner if you were lucky enough to find some. You will need a total of 14 of them,and glue then in place as shown,though the ones on the dome will CAREFULLY need to be superglued. For mounting the discs to represent the photon launchers,cut off the very tips of the base triangle,to give you a flat surface to glue the discs onto.

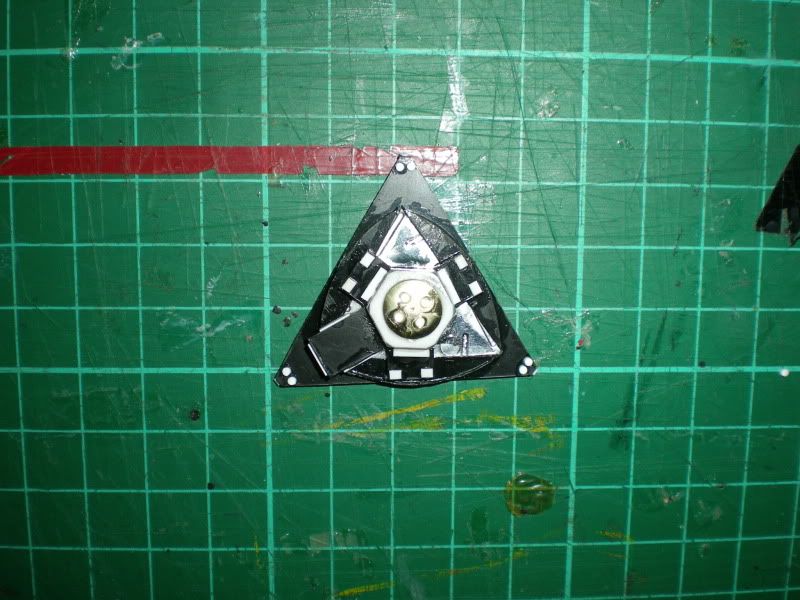
The only thing that remains to do now,is to drill a hole for the stand,and glue on some small pieces of card to represent the tractor mounts. Oops,nearly forget there,I said to cut 14 slices,but only showed you the positions of 13 of them. Well,the last one gets glued just above the main hanger door as the landing light.Cest finis.