The Planet Killer
Posted: Mon Mar 19, 2012 12:45 am
Just for fun and to keep myself busy while I wait for the Klingon fleet boxes to get here, I decided to build a planet killer that was a "little" closer to proper size.
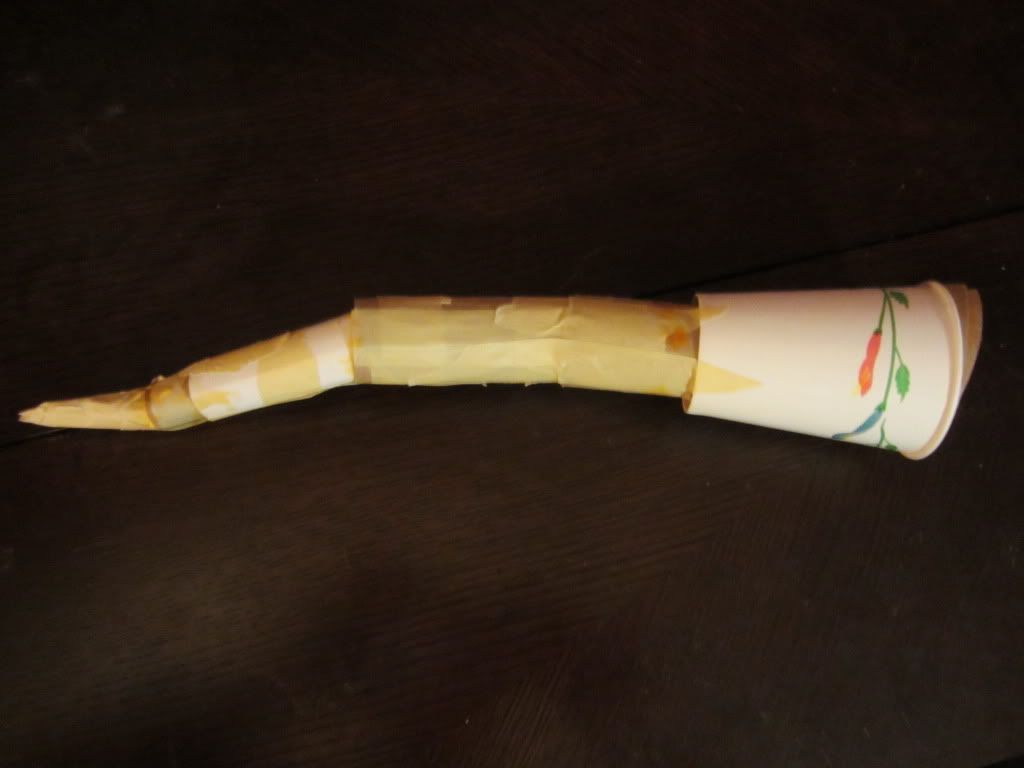
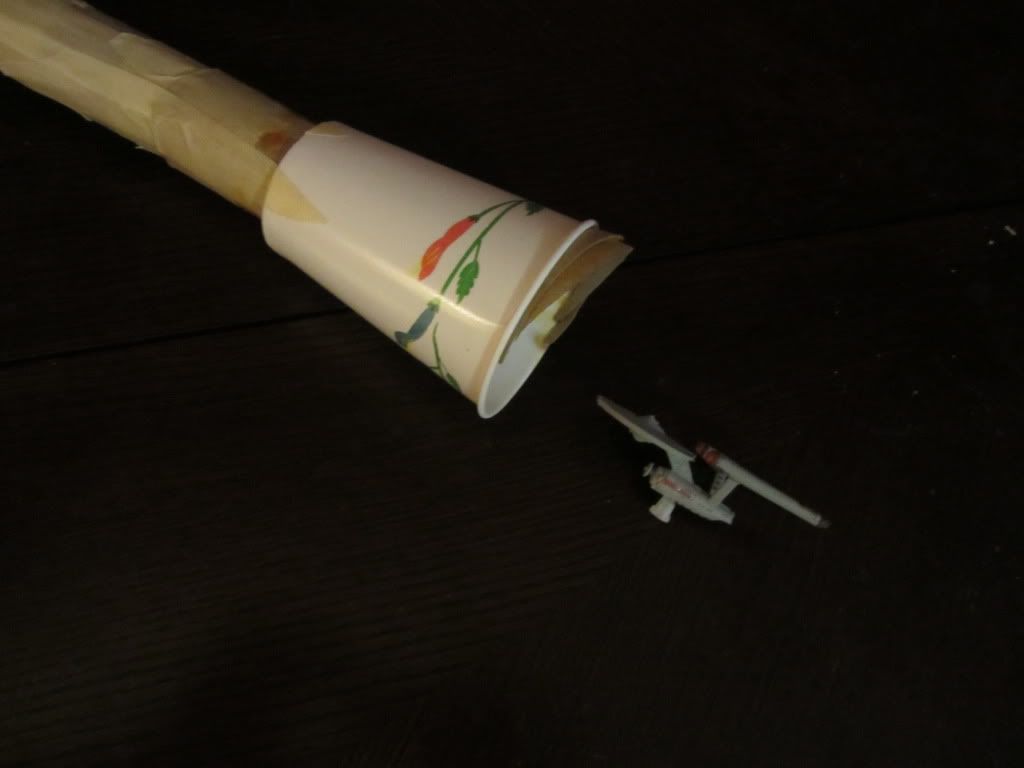
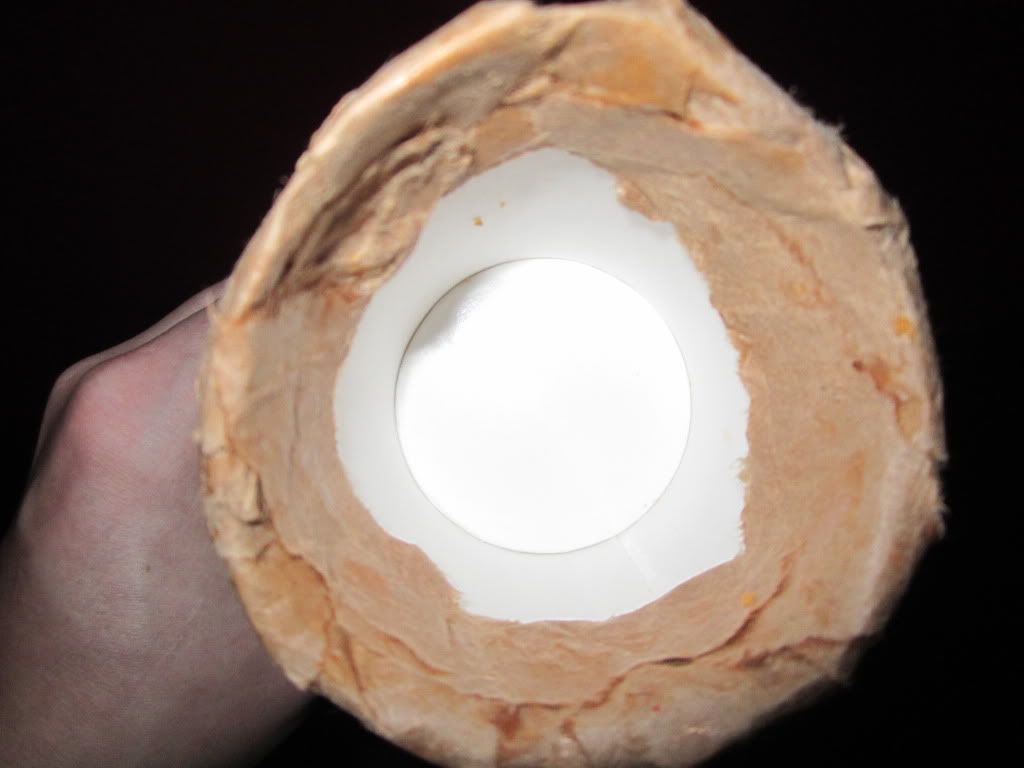
The first step was to create a skeleton for the weapon, which I did with a paper cup, a cardboard roller, and a few pieces of scrap card stock. Masking tape held the thing together while the glue dried. I intentionally created it segmented and jagged as that was the way I remember seeing the weapon. I also added a little card stock up front to create a point on the cup's rim. In the second picture below, I posed to with a SL2500 Fed CA for size comparison.
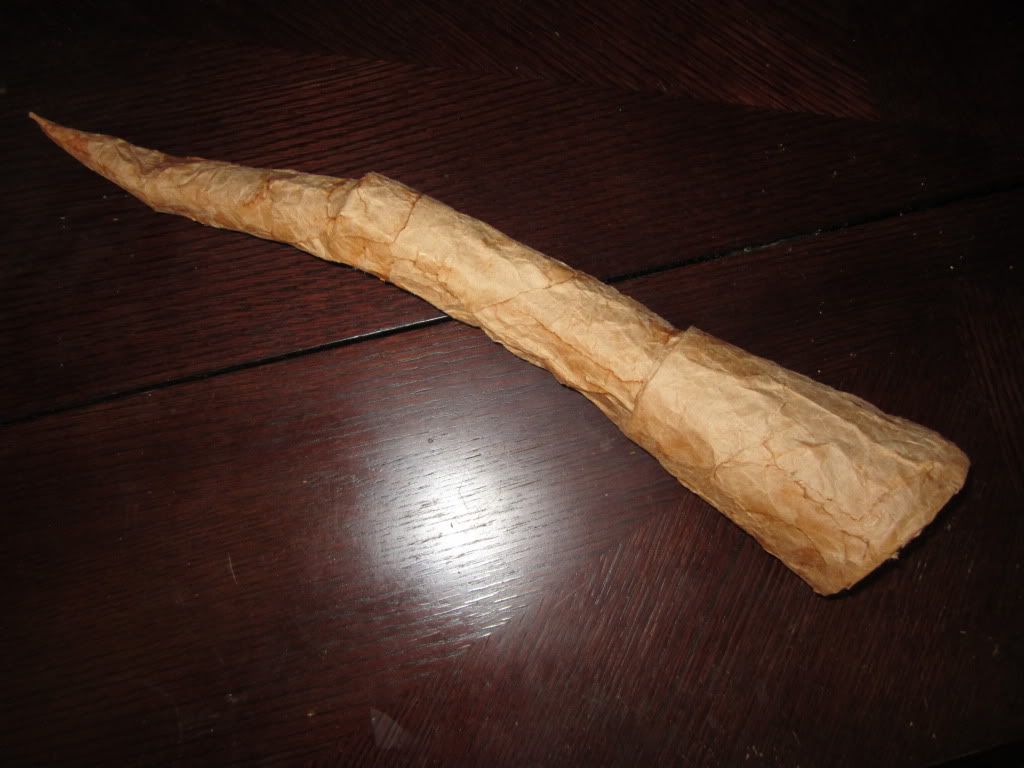
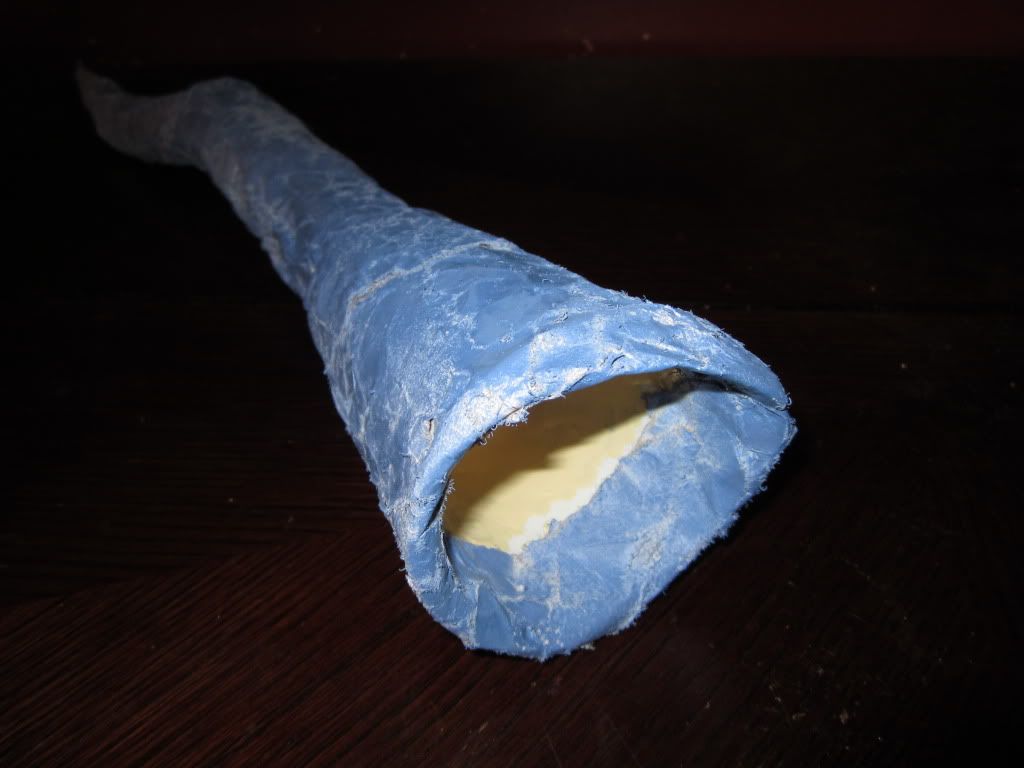
Once that dried, I applied the skin. This was a brown paper bag torn into strips, wadded up, and glued into place. I again intentionally made the segments visible to match my vision/memories of the monster weapon.
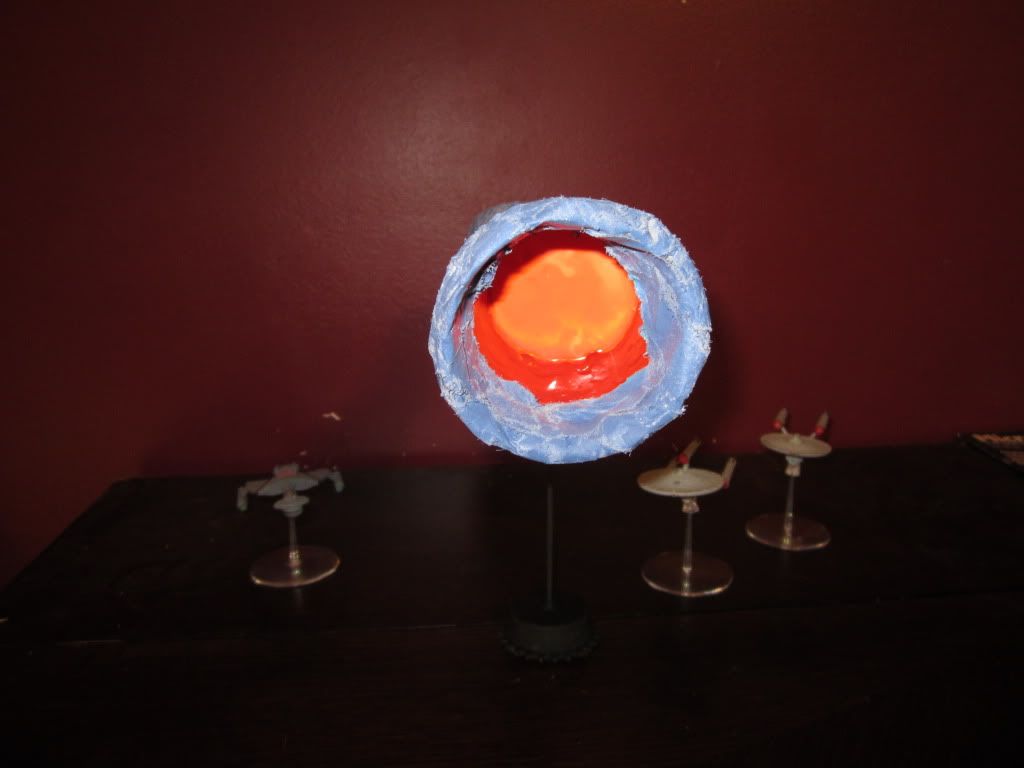
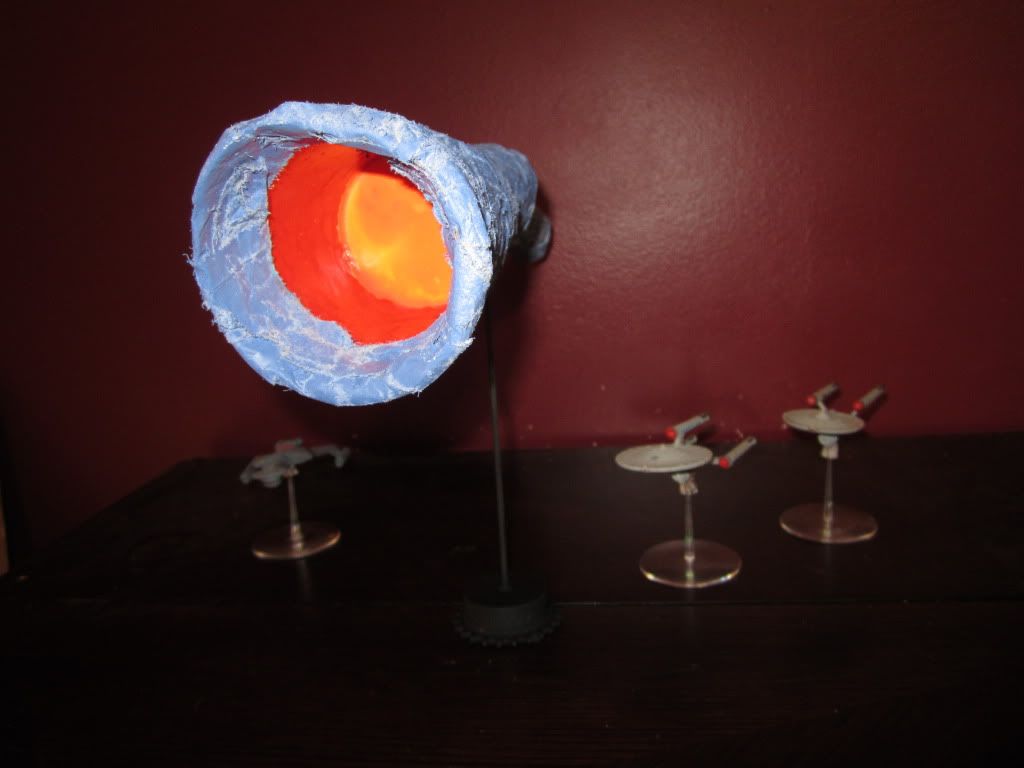
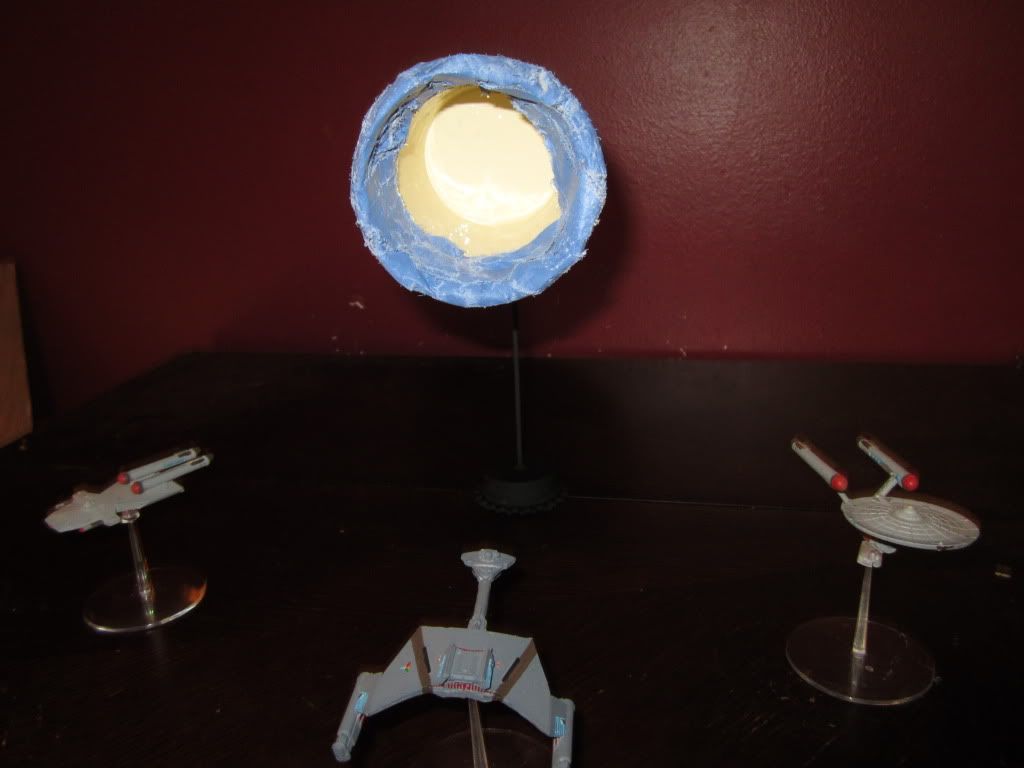
Beware that maw!
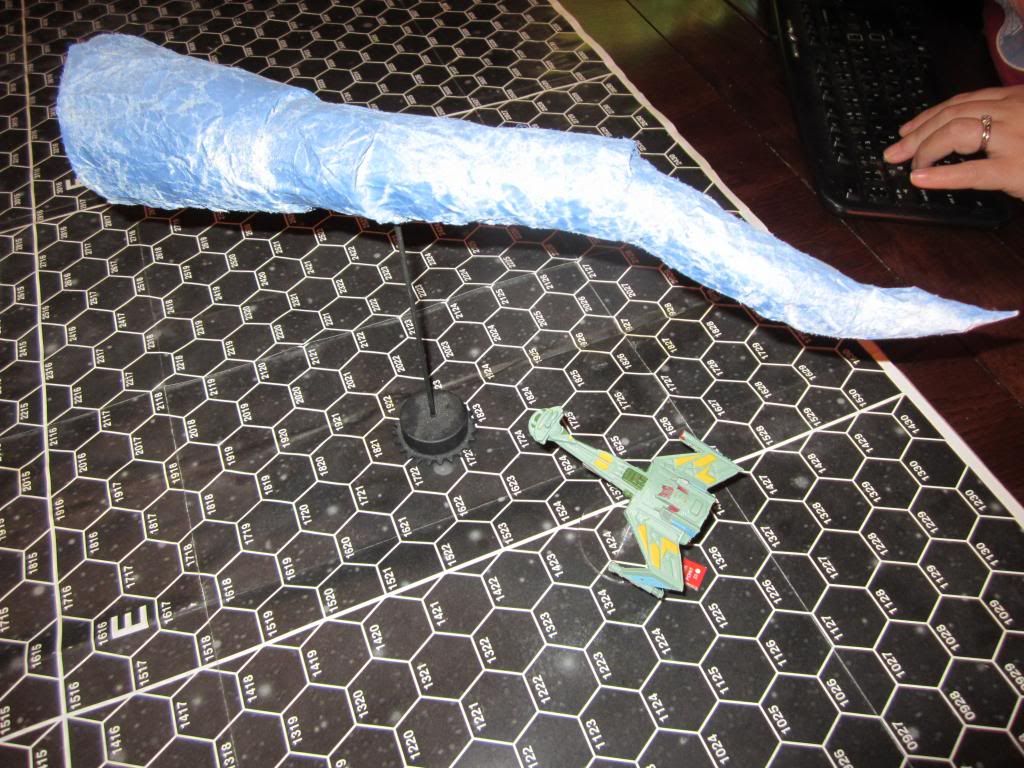
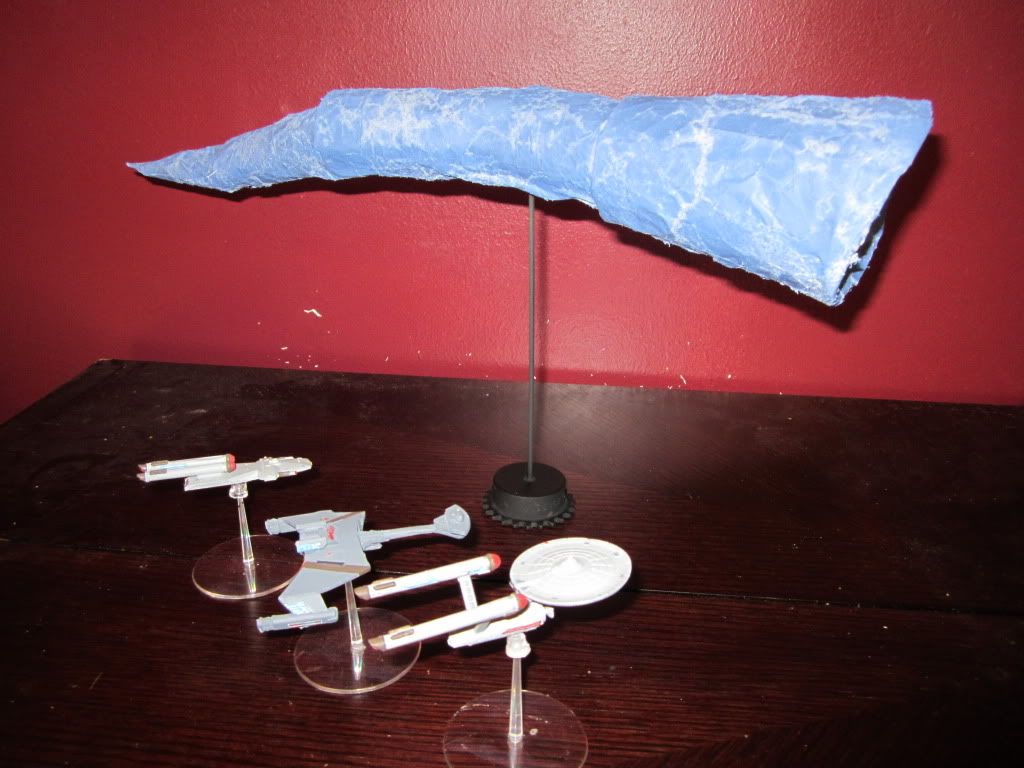
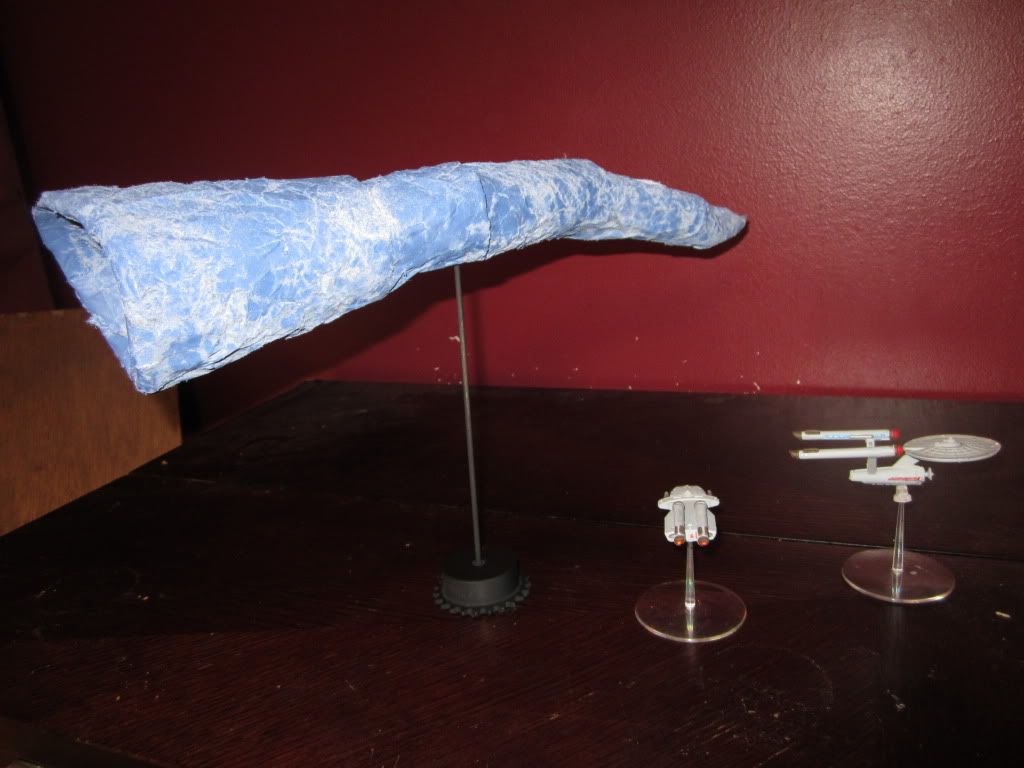
Over the years I have learned several ways not to try and apply paint. Since I did not want a smooth, even finish on this, I pulled out my bag of tricks of how NOT to apply paint. Instead of priming the skin, I simply applied some white spray paint knowing that the paper would absorb the paint unevenly and unpredictably. Then I did not wait the manufacturer's recommended time before I applied a thin blue color that needs primer underneath. The result was an icy blue, streaky, uneven, and blotchy surface that was just PERFECT! (It looks better in real life than the pictures show.)

Now, since it is sooo much larger than other minis, it would interfere with game play. Being something like two feet long it would be impossible for other ships to get proper position in front of or behind the weapon. But, by raising it up above the other ships it can be this huge and still usable in a game. (The weapon is, of course, only in the location [hex or otherwise] where the stand is.) I used an old metal gear as a stand base as it provided enough weight to keep the thing standing even if the table shakes or the weapon is bumped.
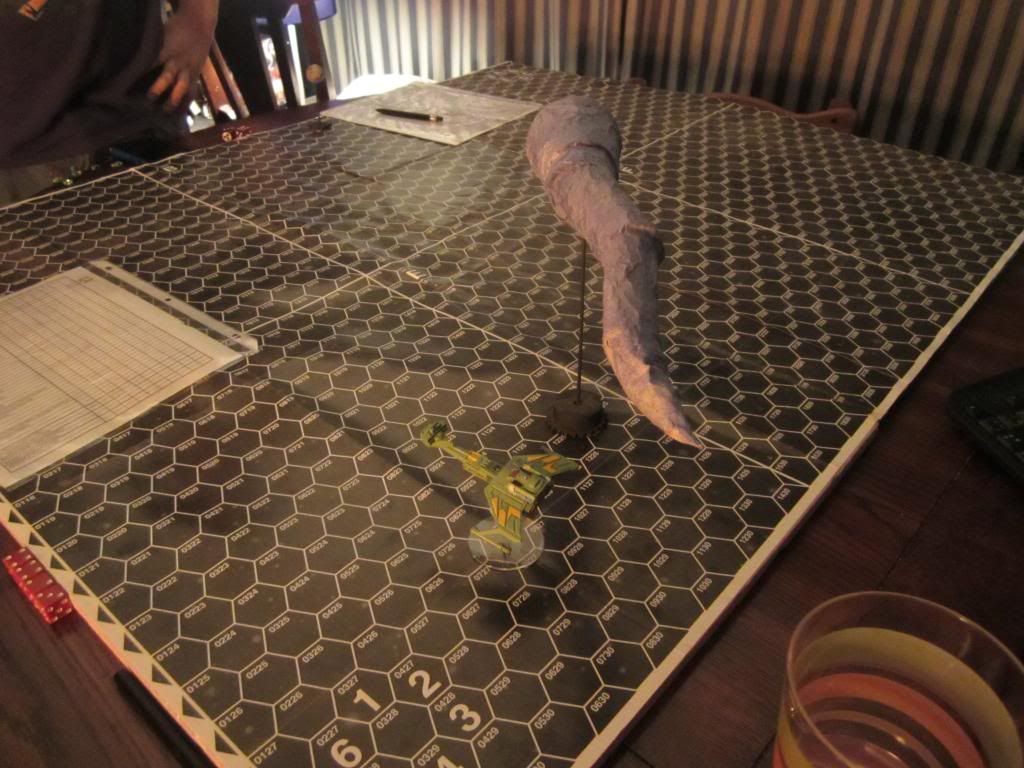
Here is the finished weapon in a simulated game with a D6J, and two Star Fleet vessels.
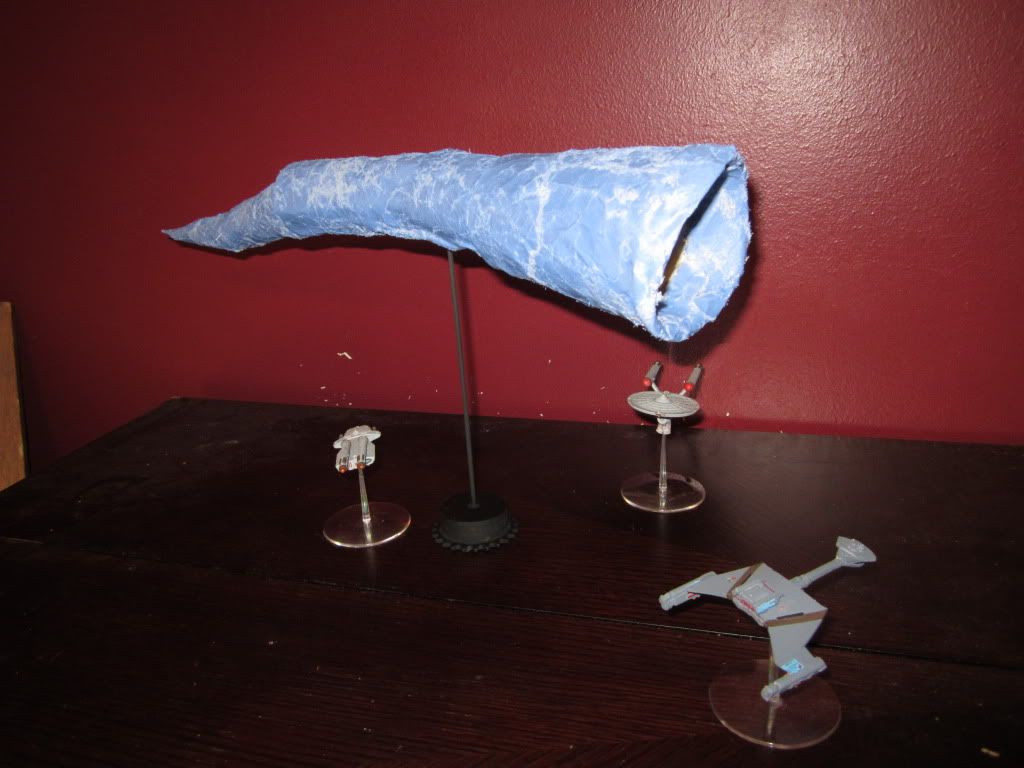
Approaching the weapon from the rear.
An assault from three sides is not effective.
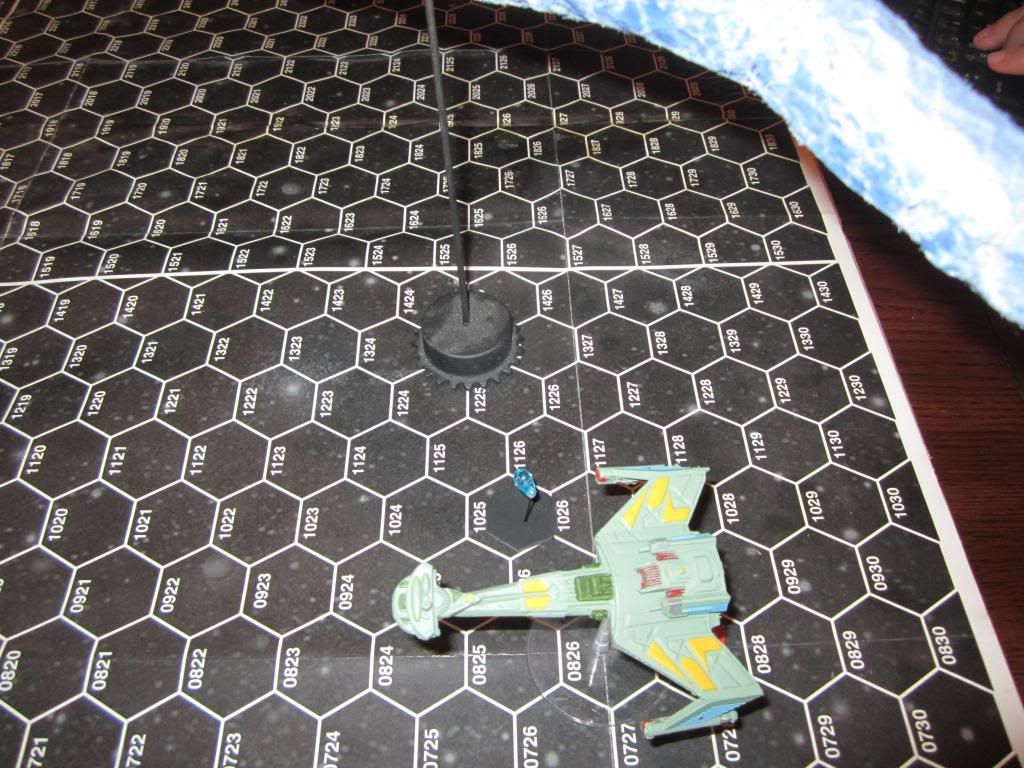
After much discussion, the Klingons came up with a cunning plan. The two Star Fleet cruisers are busy beaming the Klingon crew off the ship.
With the weapon destroyed, the surviving ships take a few sensor readings before taking the Klingon crew to a starbase for processing and transfer back home.
I have yet to paint the inside of the maw, but that will complete the model.
The first step was to create a skeleton for the weapon, which I did with a paper cup, a cardboard roller, and a few pieces of scrap card stock. Masking tape held the thing together while the glue dried. I intentionally created it segmented and jagged as that was the way I remember seeing the weapon. I also added a little card stock up front to create a point on the cup's rim. In the second picture below, I posed to with a SL2500 Fed CA for size comparison.
Once that dried, I applied the skin. This was a brown paper bag torn into strips, wadded up, and glued into place. I again intentionally made the segments visible to match my vision/memories of the monster weapon.
Beware that maw!
Over the years I have learned several ways not to try and apply paint. Since I did not want a smooth, even finish on this, I pulled out my bag of tricks of how NOT to apply paint. Instead of priming the skin, I simply applied some white spray paint knowing that the paper would absorb the paint unevenly and unpredictably. Then I did not wait the manufacturer's recommended time before I applied a thin blue color that needs primer underneath. The result was an icy blue, streaky, uneven, and blotchy surface that was just PERFECT! (It looks better in real life than the pictures show.)
Now, since it is sooo much larger than other minis, it would interfere with game play. Being something like two feet long it would be impossible for other ships to get proper position in front of or behind the weapon. But, by raising it up above the other ships it can be this huge and still usable in a game. (The weapon is, of course, only in the location [hex or otherwise] where the stand is.) I used an old metal gear as a stand base as it provided enough weight to keep the thing standing even if the table shakes or the weapon is bumped.
Here is the finished weapon in a simulated game with a D6J, and two Star Fleet vessels.
Approaching the weapon from the rear.
An assault from three sides is not effective.
After much discussion, the Klingons came up with a cunning plan. The two Star Fleet cruisers are busy beaming the Klingon crew off the ship.
With the weapon destroyed, the surviving ships take a few sensor readings before taking the Klingon crew to a starbase for processing and transfer back home.
I have yet to paint the inside of the maw, but that will complete the model.