Thanks Will.
Nice to be an inspiration.
OGOPTIMUS's Minis
Moderators: Albiegamer, mjwest

Working on a Gorn BDX battle destroyer. Had to really clean this guy up with all the flashing on the rear between the nacelles, and the end of one of the nacelles had a large extra chunk of metal hanging off, which deformed the whole endcap (on the other side, not seen in the picture). And then I had to bend the lower nacelle back to be straight. This looked fairly hard since the nacelle was bent where it connected to the hull.
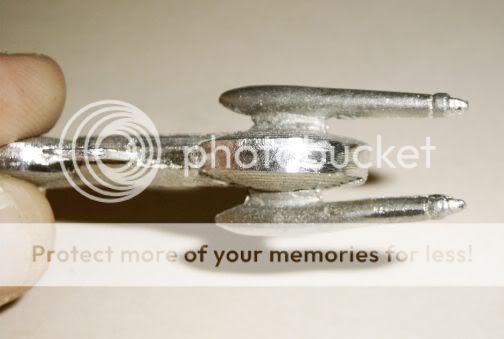
So, I decided to pull out the razor saw (again), and removed the nacelles.
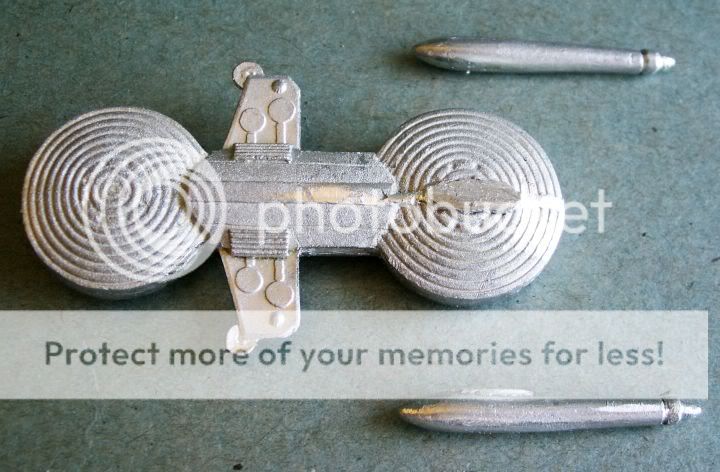
This made reforming the nacelles a lot easier. And it gave me easy access to the hull. Since the flashing had ruined the nice ridges that were on the bubble, I had to go back and scribe them. They're not perfect, but it's serviceable, and will likely get covered in putty when I make the new pylons for the engines.

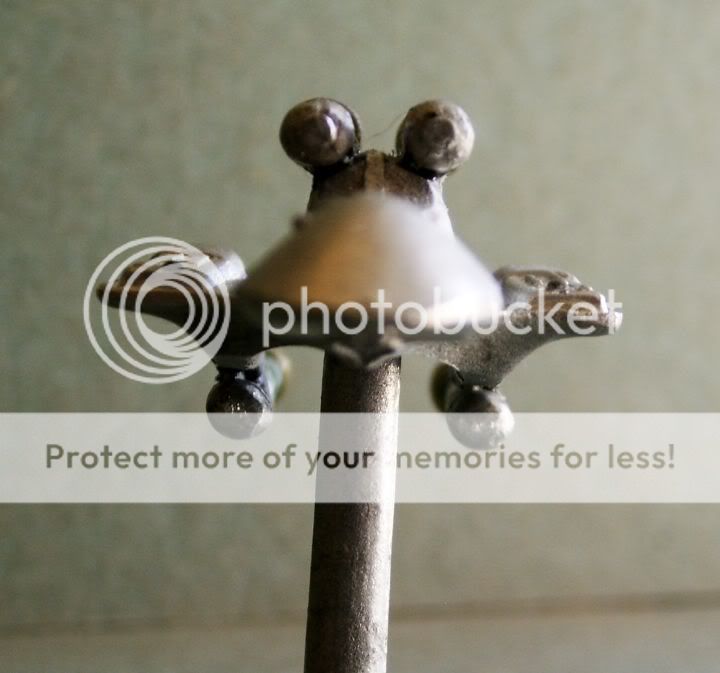
And I had to add the rear phasers since they came off when I removed the flashing. I took an idea from some other Gorn minis on my workbench and from Will's HDWs, and used pins for phasers on the curved Gorn hulls--I have a hard time keeping epoxy in nice little domes.
More pictures to come.
So, I decided to pull out the razor saw (again), and removed the nacelles.
This made reforming the nacelles a lot easier. And it gave me easy access to the hull. Since the flashing had ruined the nice ridges that were on the bubble, I had to go back and scribe them. They're not perfect, but it's serviceable, and will likely get covered in putty when I make the new pylons for the engines.
And I had to add the rear phasers since they came off when I removed the flashing. I took an idea from some other Gorn minis on my workbench and from Will's HDWs, and used pins for phasers on the curved Gorn hulls--I have a hard time keeping epoxy in nice little domes.
More pictures to come.
I'm glad my pins method for phasers was of some help.
One thing that might help with epoxy glue phaser bumps - I've found I have better luck if I hang the mini so that the bump(s) face down as soon as I place any sets of adjacent bumps with a toothpick. This makes gravity my friend, keeping the bumps tall, instead of letting them flatten out against the hull.
One thing that might help with epoxy glue phaser bumps - I've found I have better luck if I hang the mini so that the bump(s) face down as soon as I place any sets of adjacent bumps with a toothpick. This makes gravity my friend, keeping the bumps tall, instead of letting them flatten out against the hull.


Yeah, hanging the mini upside down or whatever direction is nearly essential if you want to get small phasers.
The issue with the Gorns is that the surface isn't flat so the epoxy tends to spread out more. It's like keeping a ball at the top of a hill--if it's not perfectly balanced, it will roll down the side. Plus, this ball deforms too!
The issue with the Gorns is that the surface isn't flat so the epoxy tends to spread out more. It's like keeping a ball at the top of a hill--if it's not perfectly balanced, it will roll down the side. Plus, this ball deforms too!
Been busy this weekend with cleaning up several stock minis, but I did get a chance to work on a few custom projects (more than the ones listed here, and more info to come in the future).
First, I finished my finished Kzinti Fast Battlecruiser. I got the nacelles epoxied to the hull and sanded the struts to shape.

Next is the Gorn BDX rebuild. Not much here, just got the top nacelle epoxied in place, and you can see the rear phasers I added with pins.

And finally, I looked back at my Orion Medium Raider and noticed that there are no rear phasers on the parent CR mini. So I went back to add them and decided to use pins again.

First, I finished my finished Kzinti Fast Battlecruiser. I got the nacelles epoxied to the hull and sanded the struts to shape.
Next is the Gorn BDX rebuild. Not much here, just got the top nacelle epoxied in place, and you can see the rear phasers I added with pins.
And finally, I looked back at my Orion Medium Raider and noticed that there are no rear phasers on the parent CR mini. So I went back to add them and decided to use pins again.

I can't wait to get things painted up. I've been in a building mood when I've had time to work, so that's what I've been doing with the limited space I have right now.
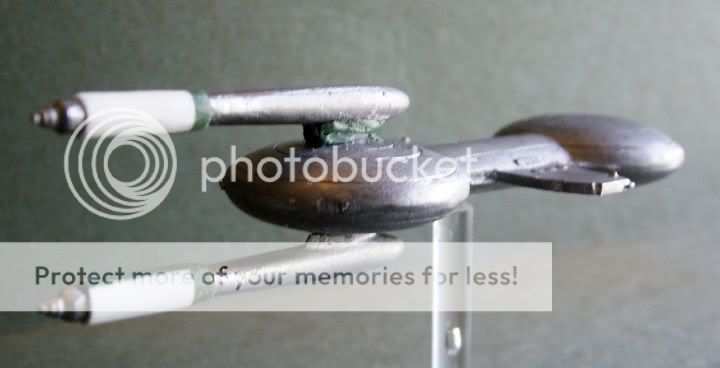
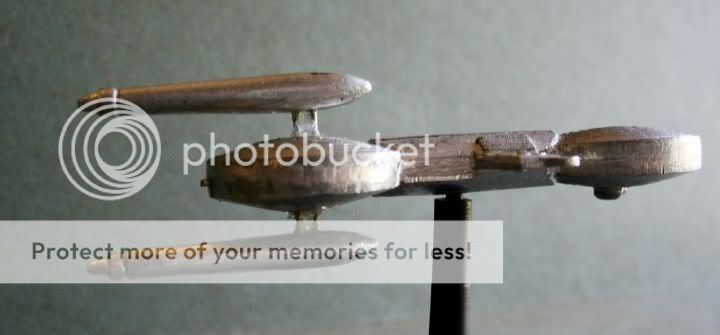
So, now for my 801st post, and my promotion to Captain, I have my still in progress Gorn Advanced Command Cruiser.
This is where the pins for phasers technique really came into being. Getting epoxy to stay in place on that curved surface is darn near impossible.

I also like my new sensor dish antenna that was added with the head of a small pin. I'd like to think that I always planned to do it this way, but all the flashing on the sensor dish forced me to file out the small trough, and add a new antenna. I think it looks 'more powerful' this way and suitably advanced.
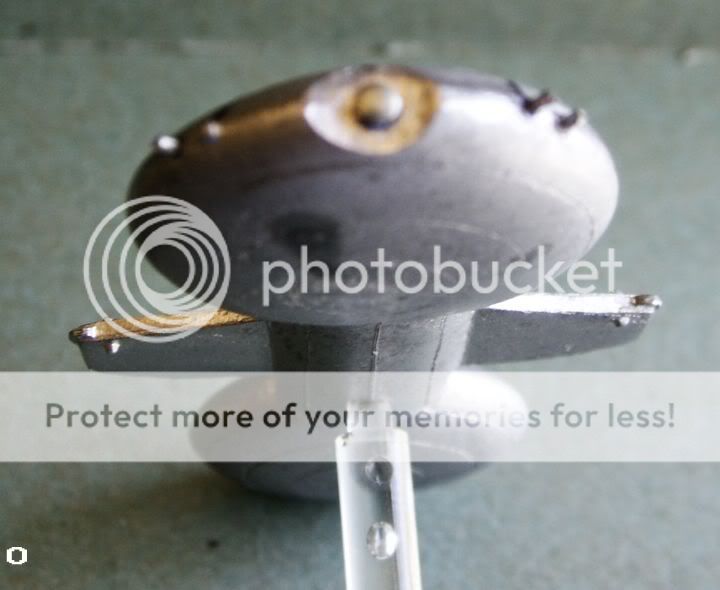
TO support the engines, I thought it would be better to have both connect to the same peg that runs the whole length of the ship so I drilled out the connections to both nacelles and drilled a hole straight through the ship. Now this engine assembly will fit inside the hull and hopefully be stronger. This also helps with engine alignment.

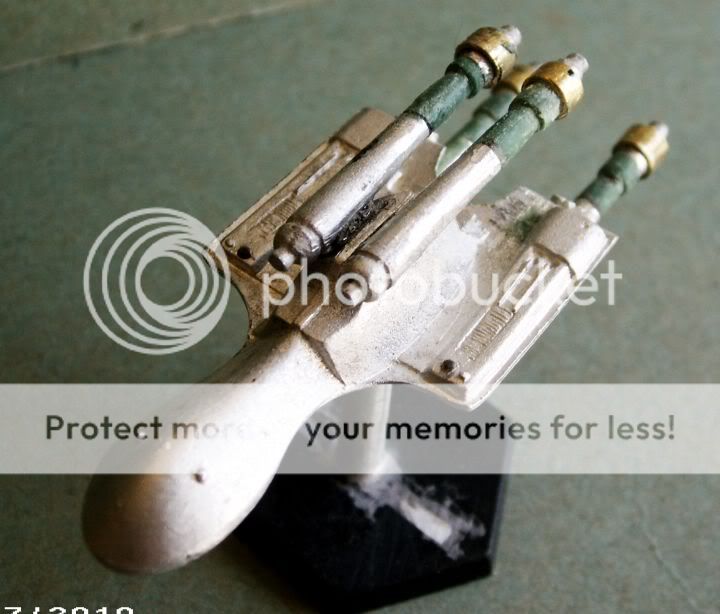
And lastly, I test fit the upper engine and it just didn't give me that 'advanced' feeling. So I took inspiration from Will's excellent BCF (seen here), and Adam Turner's artwork for the same ship and beefed up the ends of the engines. I'm still more comfortable working with plastic and since I doubt this will be cast, I cut some plastic tubing to length, sliced it open so that it would fit over the engines and then added putty to fill the gap and make the transition more smooth.

So, now for my 801st post, and my promotion to Captain, I have my still in progress Gorn Advanced Command Cruiser.
This is where the pins for phasers technique really came into being. Getting epoxy to stay in place on that curved surface is darn near impossible.
I also like my new sensor dish antenna that was added with the head of a small pin. I'd like to think that I always planned to do it this way, but all the flashing on the sensor dish forced me to file out the small trough, and add a new antenna. I think it looks 'more powerful' this way and suitably advanced.
TO support the engines, I thought it would be better to have both connect to the same peg that runs the whole length of the ship so I drilled out the connections to both nacelles and drilled a hole straight through the ship. Now this engine assembly will fit inside the hull and hopefully be stronger. This also helps with engine alignment.
And lastly, I test fit the upper engine and it just didn't give me that 'advanced' feeling. So I took inspiration from Will's excellent BCF (seen here), and Adam Turner's artwork for the same ship and beefed up the ends of the engines. I'm still more comfortable working with plastic and since I doubt this will be cast, I cut some plastic tubing to length, sliced it open so that it would fit over the engines and then added putty to fill the gap and make the transition more smooth.
-
Wolverin61
- Commander
- Posts: 495
- Joined: Sun Nov 16, 2008 2:07 am
- Location: Mississippi
- Contact:
Go right ahead and use it. I know I've borrowed so many techniques and ideas from people all over the web, especially here, the legacy board, Captain's Log magazines, and the starfleet store photos.Wolverin61 wrote:May even have to steal errr try it sometime.
Updates below:
I got the lower engine epoxied on my Gorn CCX Advanced Command Cruiser and my BDX advanced destroyer. I had to babysit these while the superglue and epoxy set up so that the engines would remain lined up.
And, while not as nice as Will's Fed HDW rebuild, I did manage to thicken the nacelle caps (they are a bit flat) and move the connection on the HDW lower hull so that the nacelles are even.

I have to say I love this mini. I love the standard War Destroyer too. There's just something I can't put my finger on about these two.
And a New Fast Light Cruiser (Module R11, an NCF without the center engine). With upgraded sensor dish.

Or as Scoutdad once said it now has a
Because if anyone's gonna have one, a fast raider should."huge, honkin' sensor dish of enemy detectin', +5"